Description
When you connect the OpenPath Hosted Encrypted Payment to your Shopify account you are setup and ready to start accepting payment through OpenPath.
If you want to apply your own customization to the payment page, you can attach a Shopify Hosted Checkout integration to the site.
If you haven't connected your Shopify site to OpenPath yet, please refer to the following document on setting up payments through OpenPath.
Installing OpenPath as an Alternate Payment Option
Contents
- Setup
- Sale vs. Authorize | Capture
- Adding your Logo
- Adding Text and HTML
- Adding Meta Data, Scripts, CSS and more
Setup
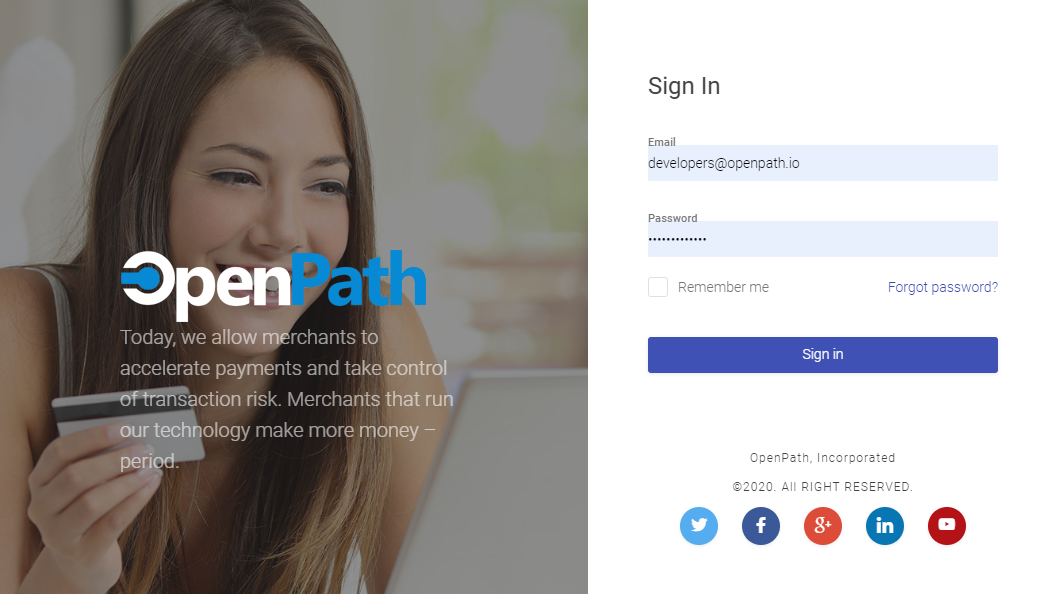
- Login to your OpenPath account at https://client.openpath.io/account/login and enter your email address and password.
 .
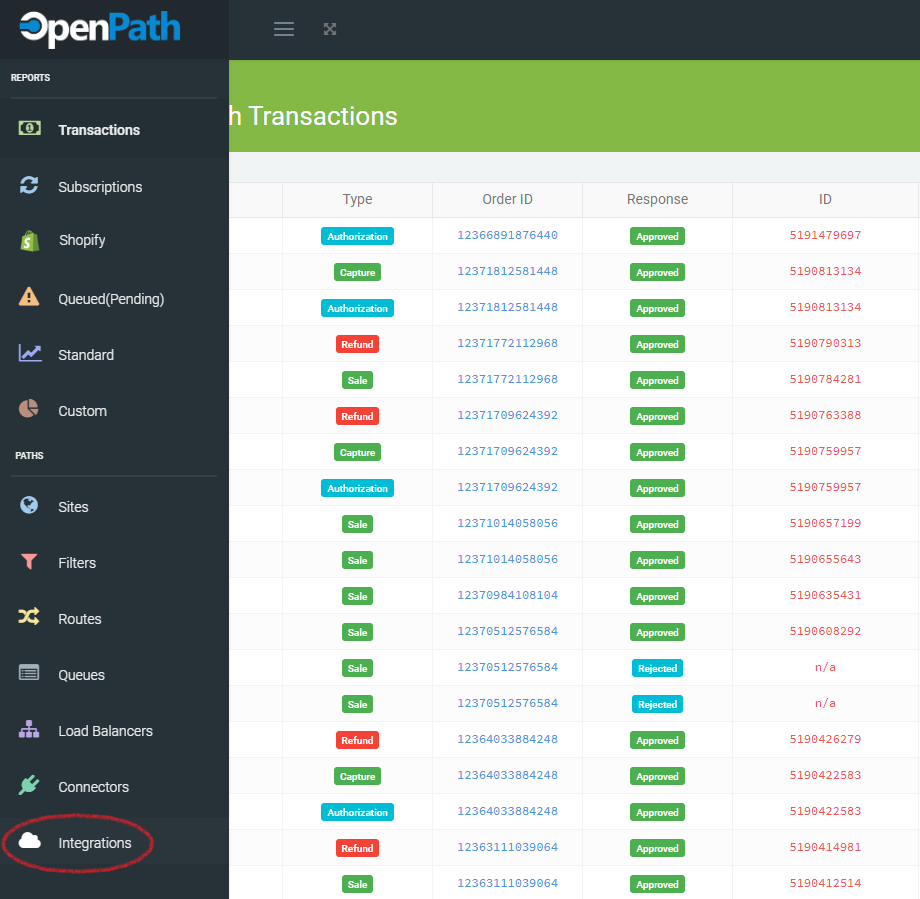
. - Once logged in navigate to the menu on the left hand side of the screen and select Integrations
 .
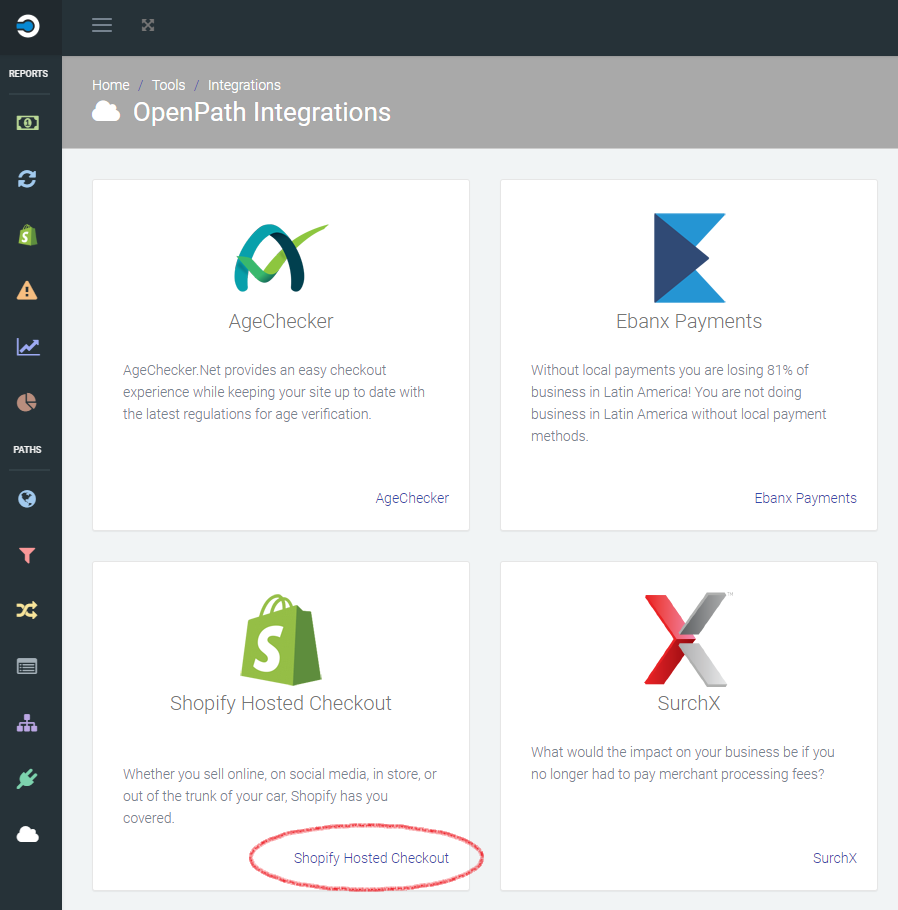
. - Once you are in the Openpath Integrations Screen click on the Shopify Hosted Checkout
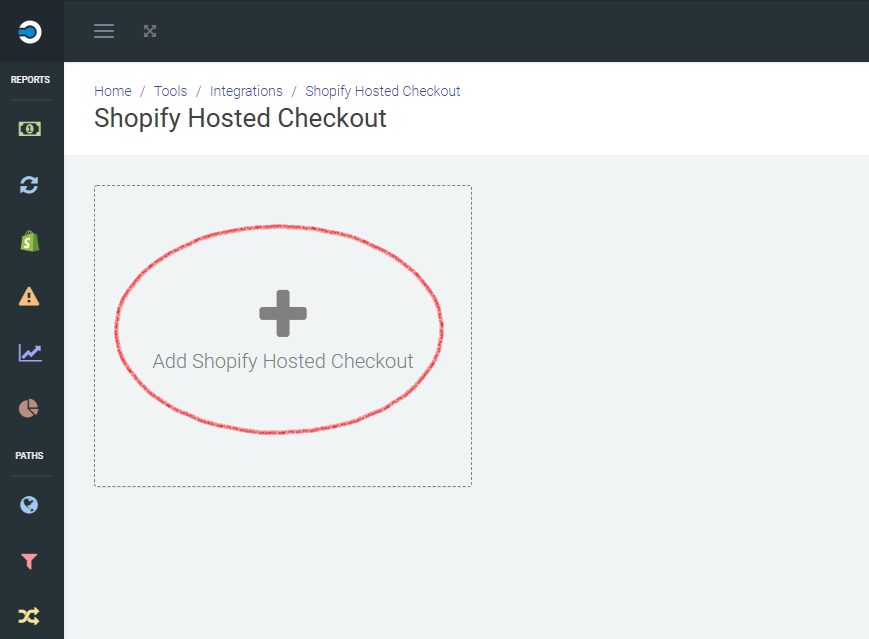
- Now find the large box option labeled Add Shopify Hosted Checkout and click that to create a new Integration
- Once you are in the New Shopify Site screen simply select the site you want to attach this Integration to and click save.
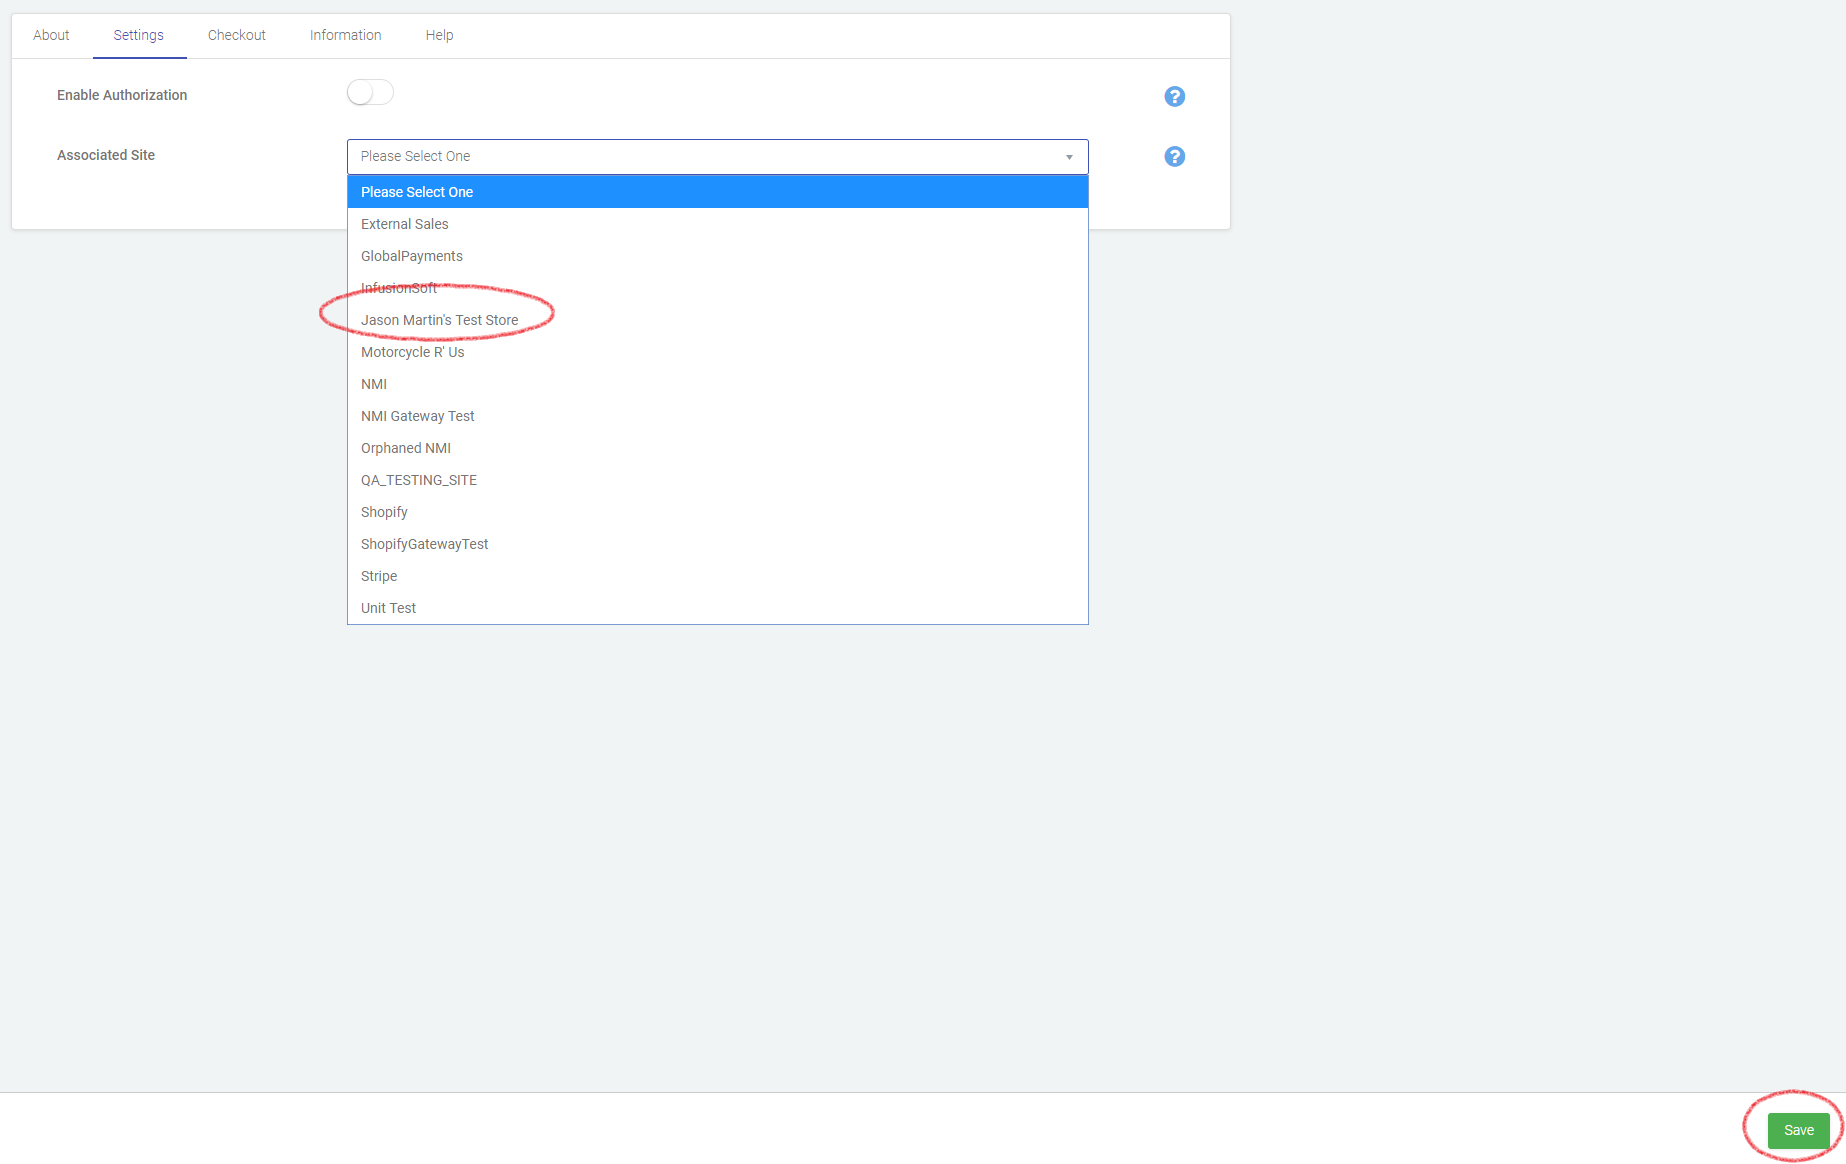
- That's it, you are now ready to customize your settings for your Shopify Payment Page.
Sale vs. Authorize | Capture
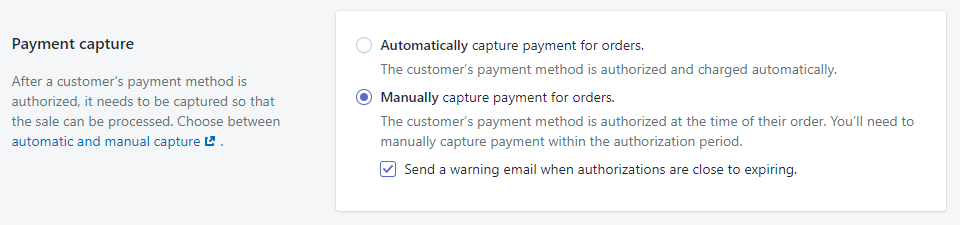
In Shopify you have the option in your Payments settings under Payment capture to either Automatically capture payment for orders or Manually capture payment for orders. The settings in Shopify must match the settings in OpenPath, for everything to work properly.
Shopify Configuration Screen
OpenPath Configuration Screen

Matching Configurations
If you have your Shopify Payment capture set to Automatically, then you should make sure Enable Authorization is disabled.

If you have your Shopify Payment capture set to Manually, then you should make sure Enable Authorization is enabled.

Adding your Logo
- Login to your OpenPath account and navigate to your Shopify Hosted Checkout Integration. Once there select the Checkout Tab.

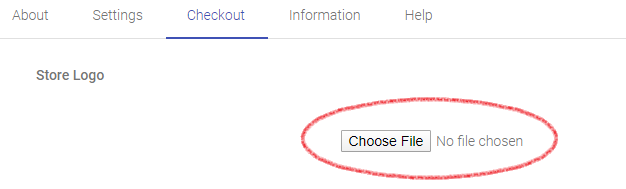
- Under the checkout tab in the Store Logo section, click on the Choose File button
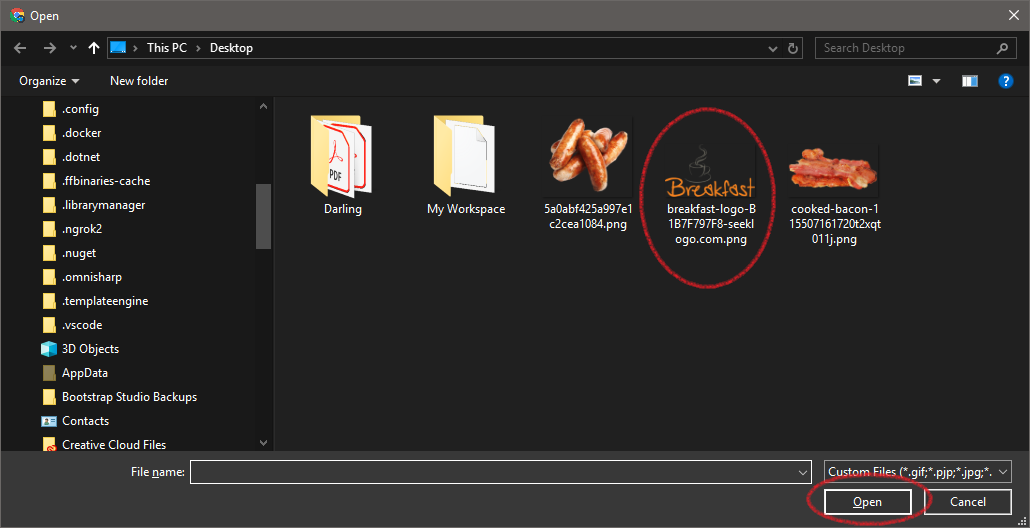
- This will open a file dialog box where you can navigate your local computer to find the logo file you want to upload, when you find it click on it and click open.
- Once complete you will now see the file name next to the Choose File button.
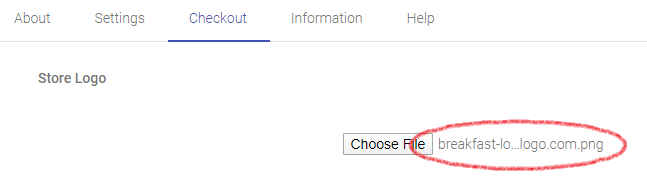
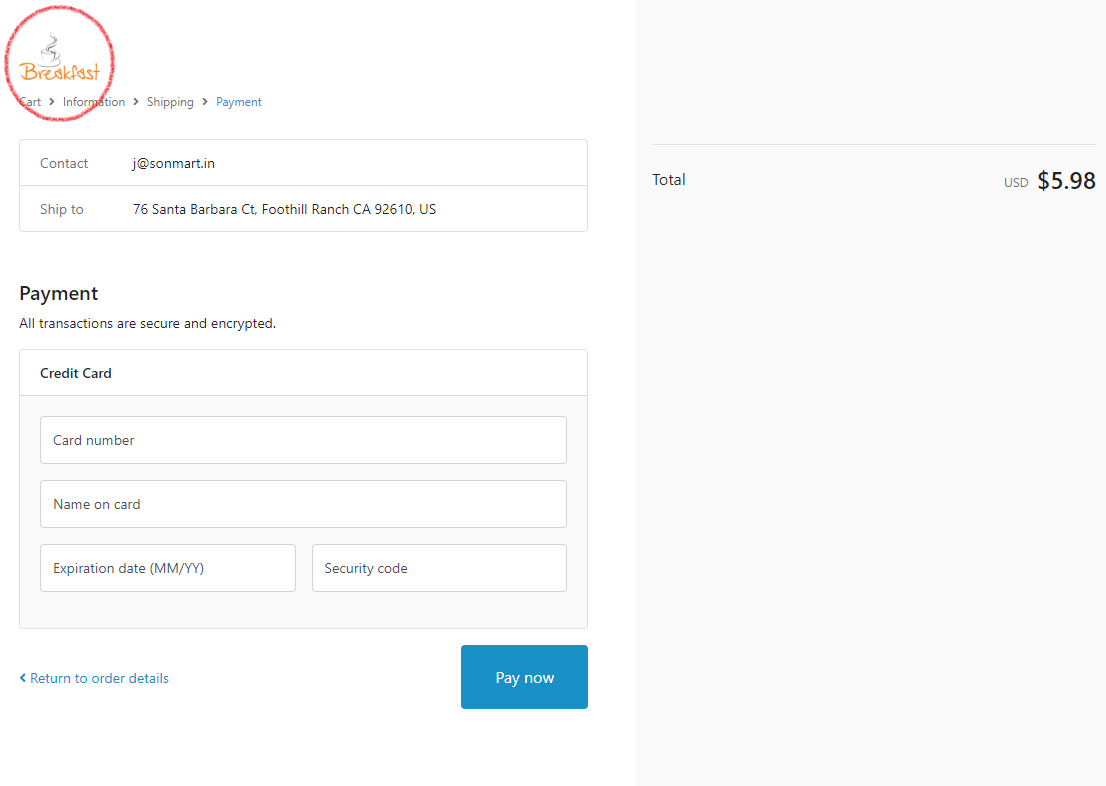
- If this is correct, click save. Now if you navigate to the payment screen through your Shopify checkout you will see the logo displayed in the same spot as it would in Shopify.
Adding Text and HTML
- Login to your OpenPath account and navigate to your Shopify Hosted Checkout Integration. Once there select the Checkout Tab.

- Under the checkout tab in the Custom HTML section, click on Left HTML tab
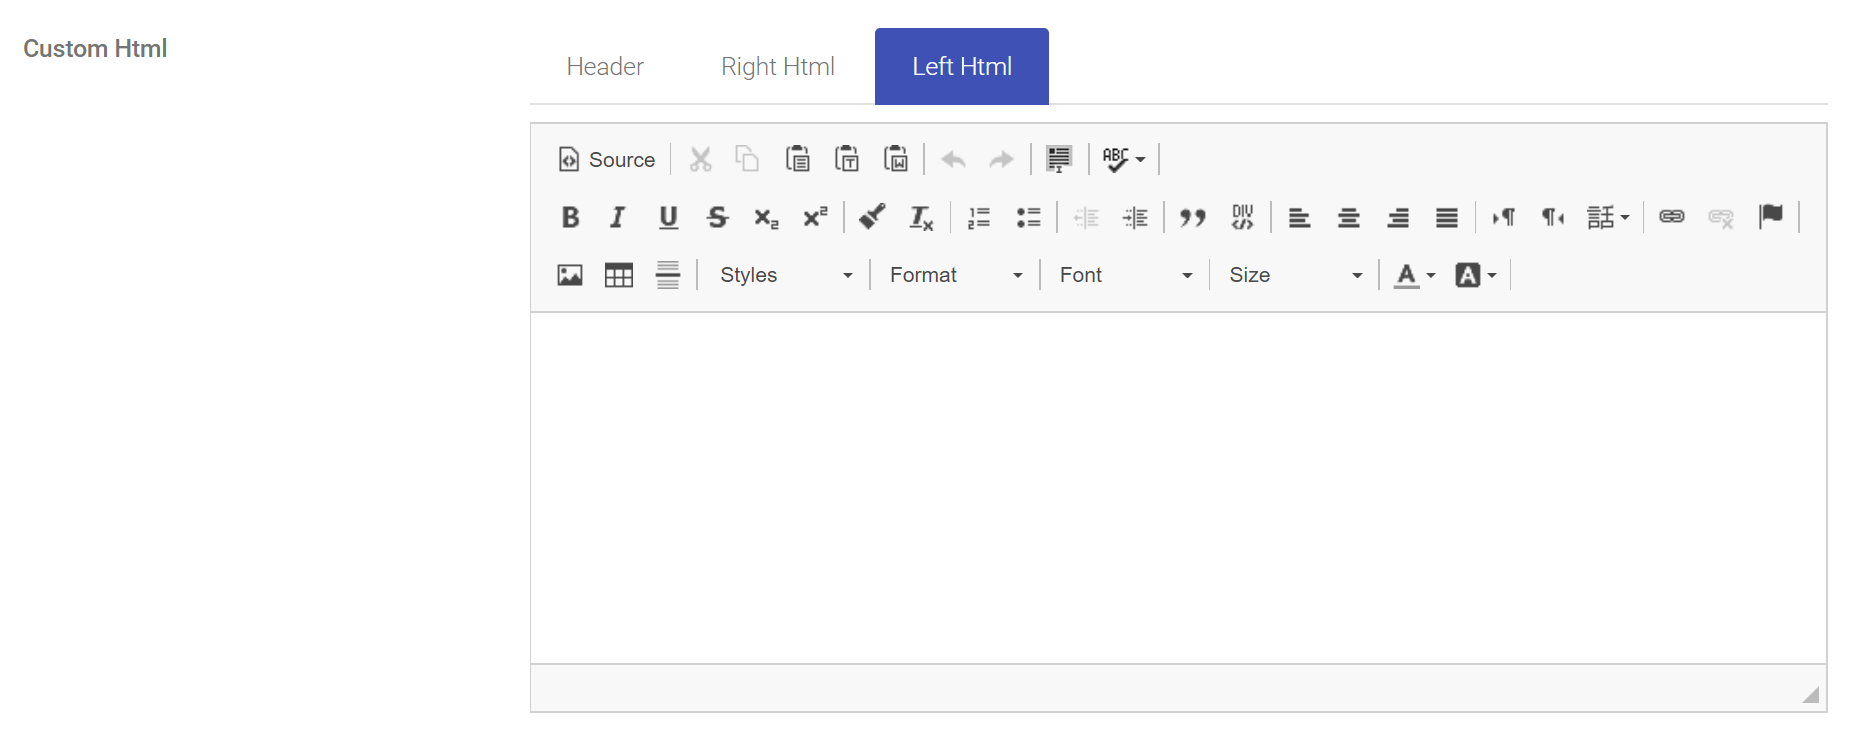
- In the text field you can enter any information and format it however you would like
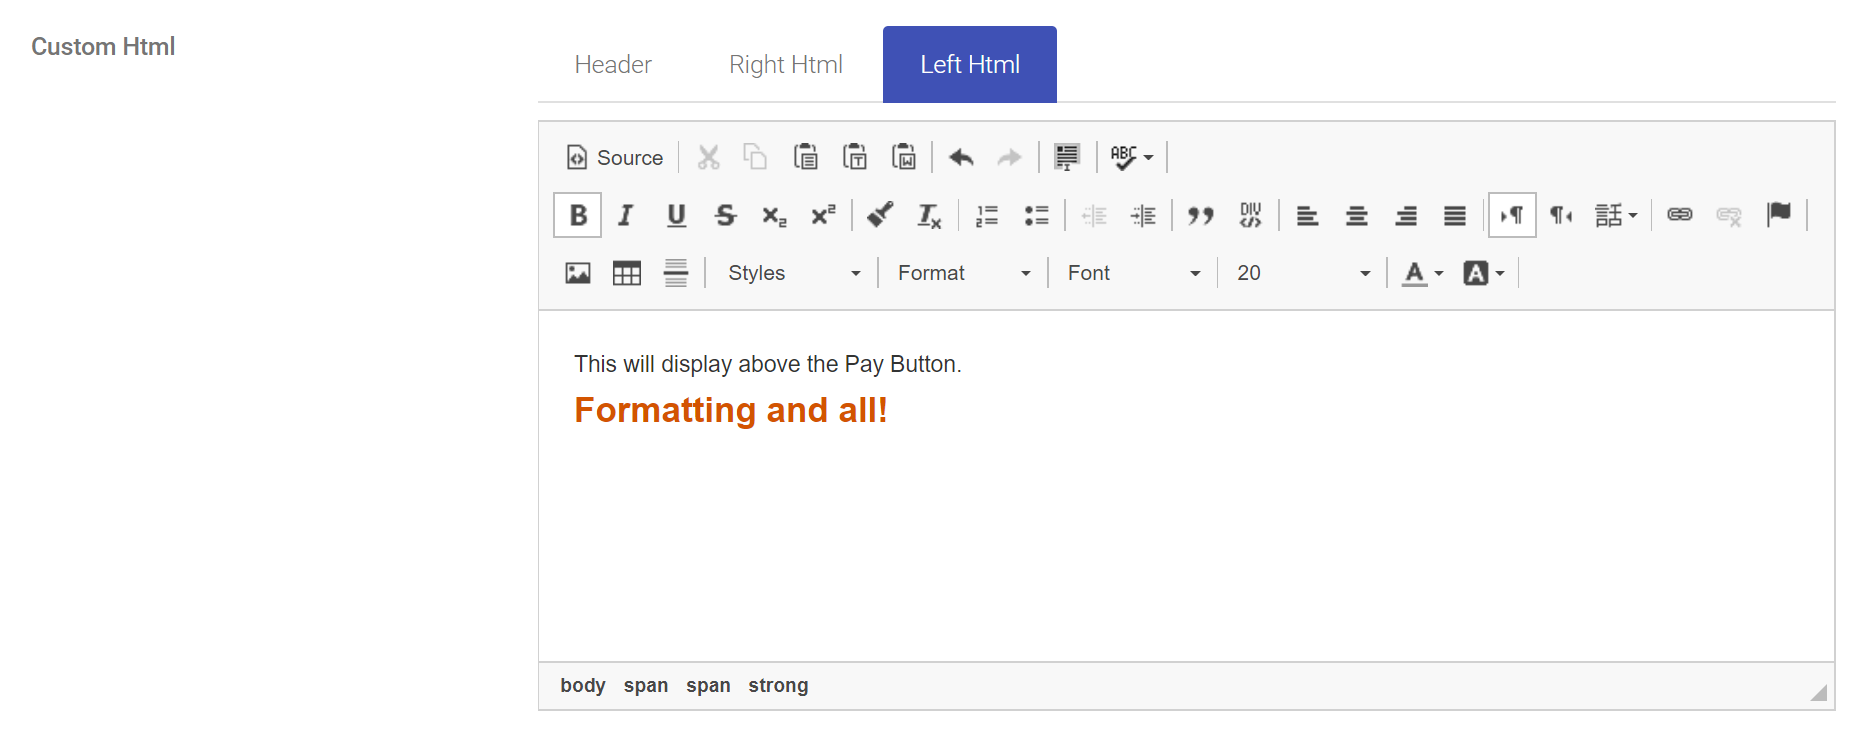
- If you would like to add custom HTML, just click on the Source button and HTML away
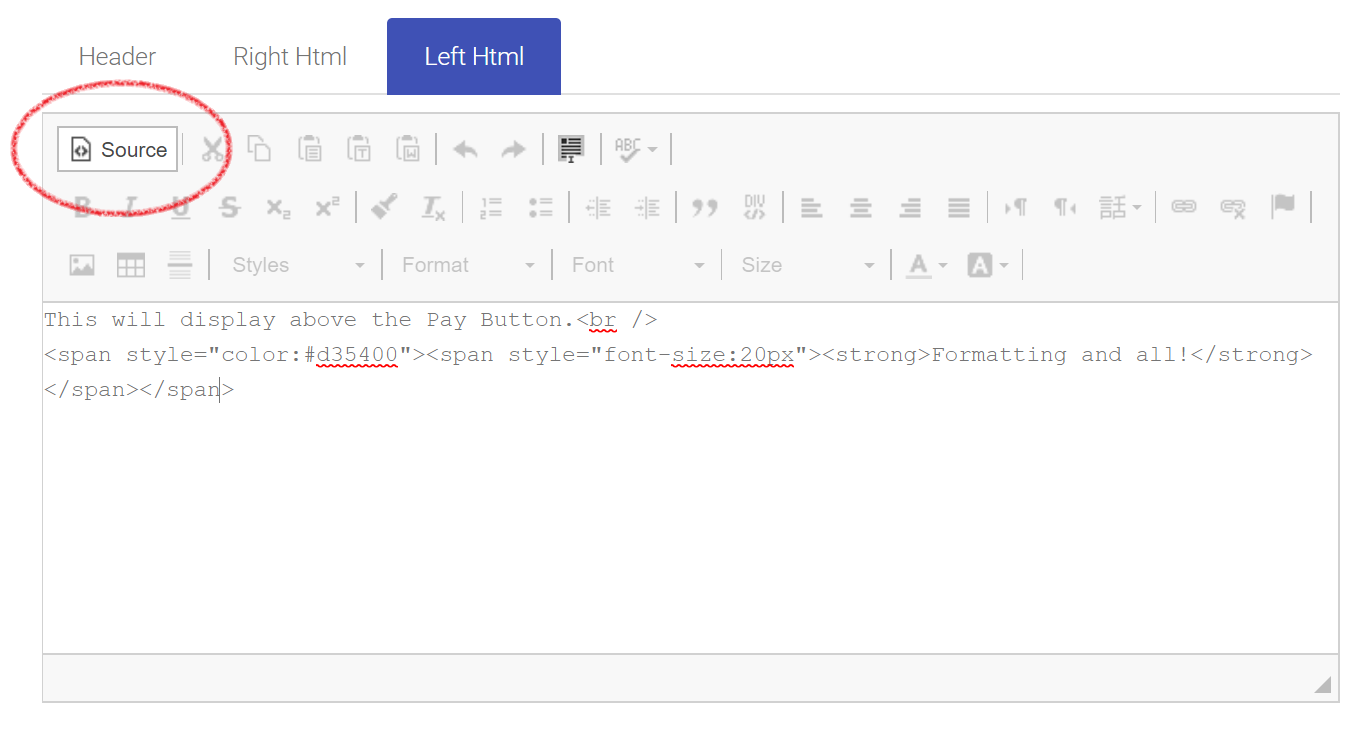
- You can do the same thing for the Right HTML as well and by default, the Left and Right HTML will show up in the locations shown below
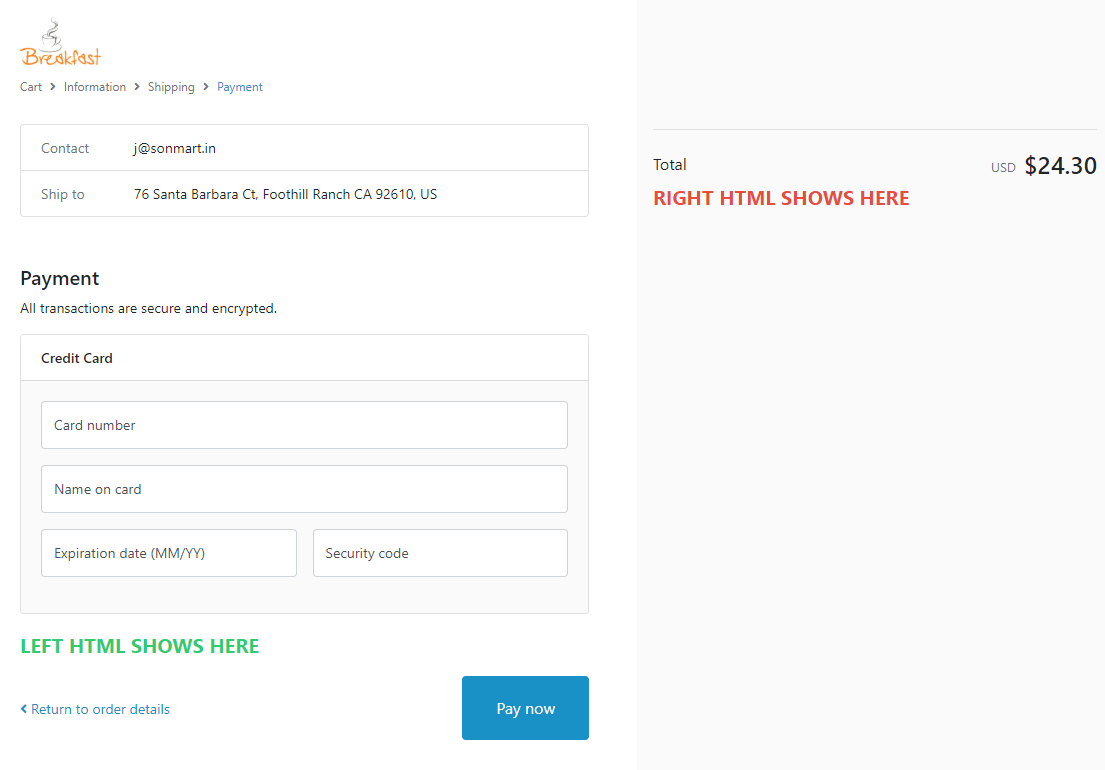
- Once you've made all your updates, click on Save and you will see your changes right away in your Shopify Payment screen.
Changing the "Applied fees & discounts" text
Shopify no longer supports access to the payment line items (e.g. Shipping, Taxes & Discounts) for Payments Apps. Therefore, OpenPath does not have the ability to know what these totals are. However, we do have access to the Subtotal and the Total, so we can calculate the Applied fees & discounts.
In most Shopify stores, the discount is a line item, hence the title of the label, but there are cases where these line items can vary from store to store, such as no discount item or surcharging line item. In this case the merchant may want to change the text. You can do this by changing the OpenPath Payments settings in Shopify by doing the following:
- In Shopify go to Settings
- Then go to Payments
- Under Supported payment methods, select OpenPath Payments
- Then click on the Manage button
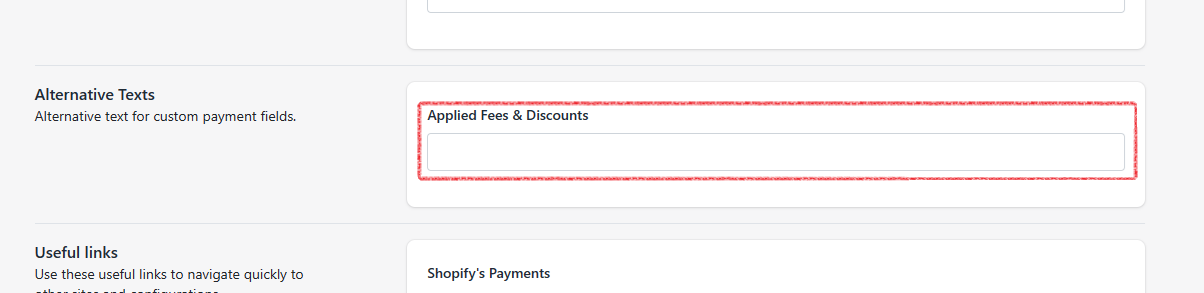
- Scroll down to Alternative Texts and enter what you want the Applied fees & discount to label to be
Adding Meta Data, Scripts, CSS and more
- Login to your OpenPath account and navigate to your Shopify Hosted Checkout Integration. Once there select the Checkout Tab.

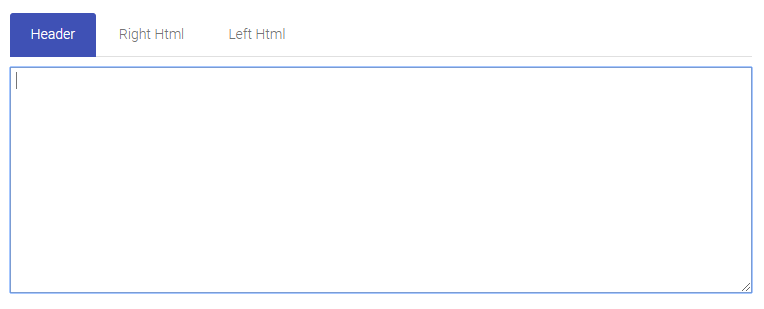
- Under the checkout tab in the Custom HTML section, click on Header tab, which will open a text editor that allows you to add code to the HEAD section of HTML
- If you want to add scripting, just add your script between two SCRIPT tags
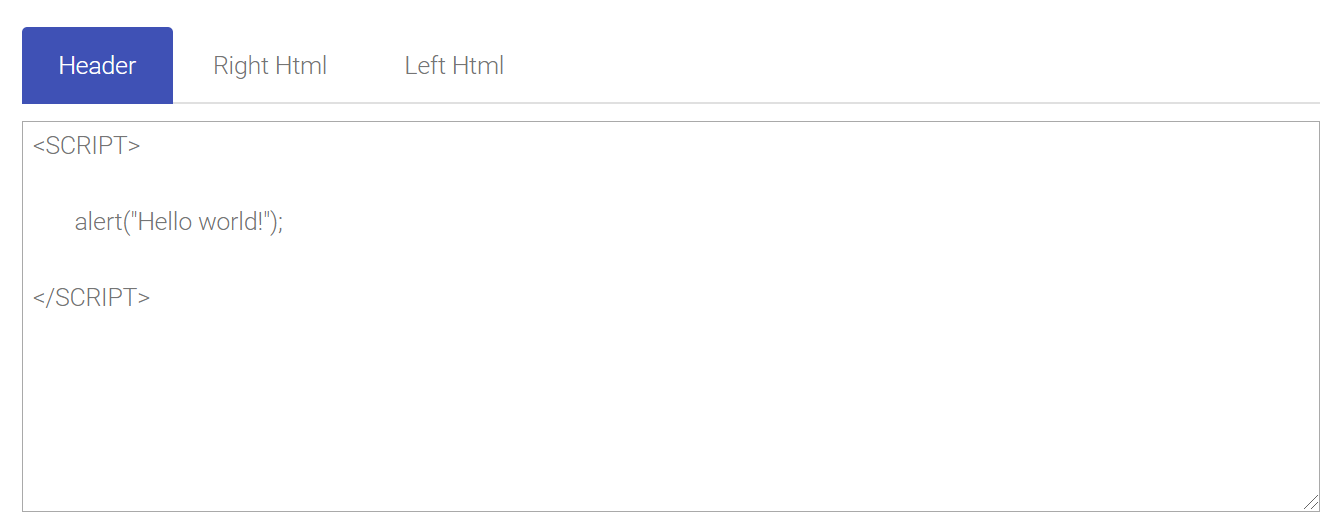
- If you want to add custom CSS, just place your CSS between two STYLE tags, you can also mix them all together
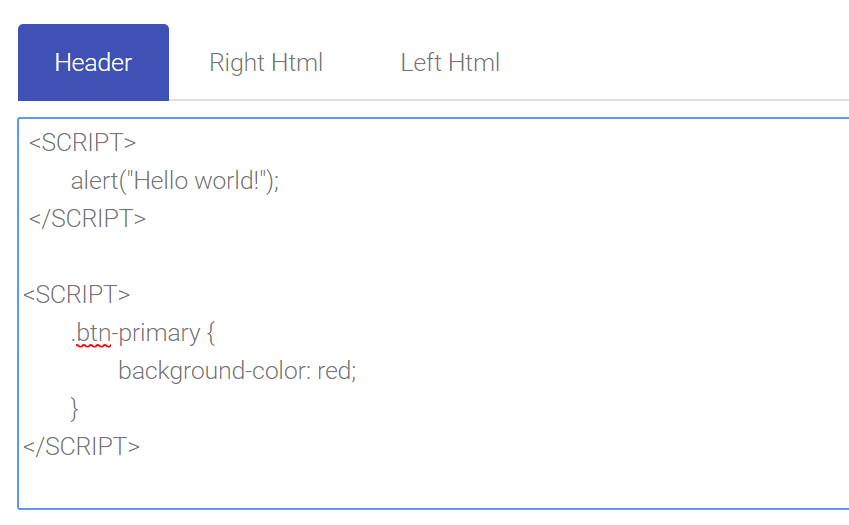
- More Examples: here are some additional scripts that you can use to customize your Payment Page, with descriptions of what features they affect:
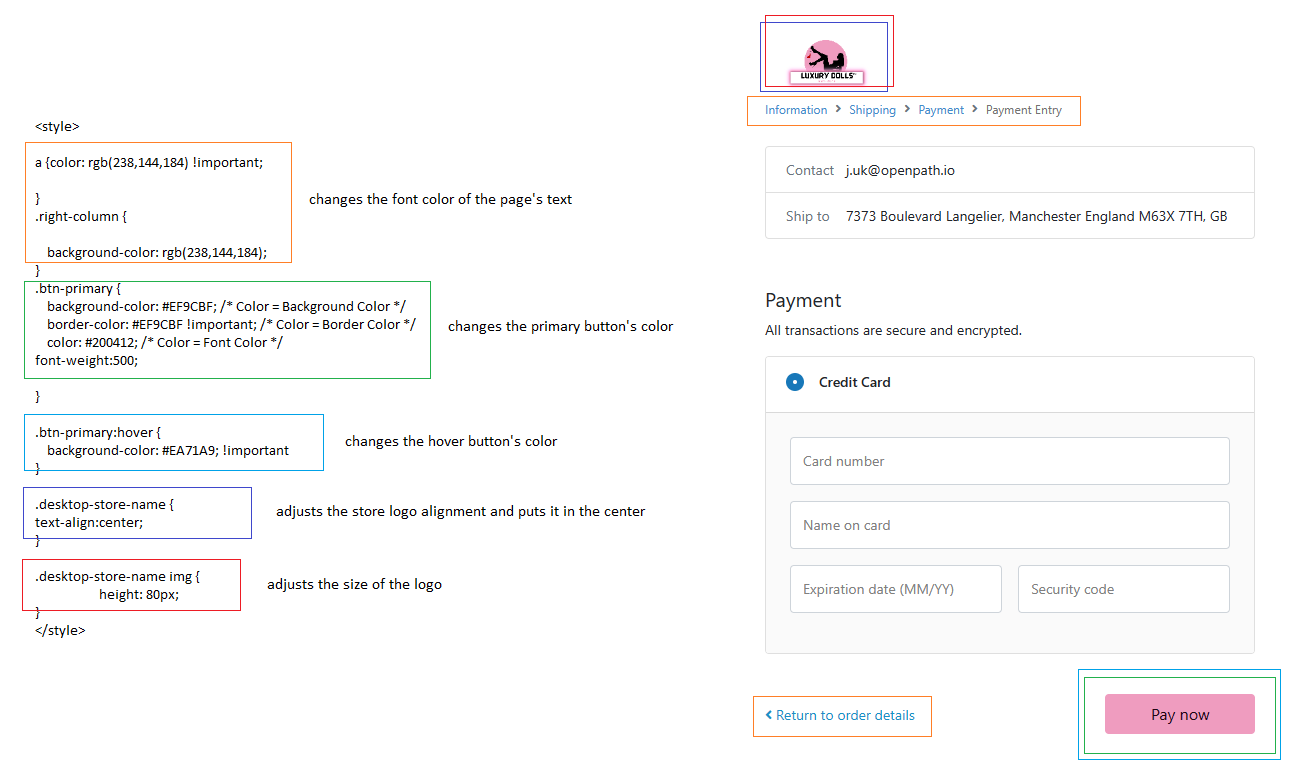
Use the code section below to easily copy and paste the examples:
<style>
a {color: rgb(238,144,184) !important;
}
.right-column {
background-color: rgb(238,144,184);
}
.btn-primary {
background-color: #EF9CBF; /* Color = Background Color */
border-color: #EF9CBF !important; /* Color = Border Color */
color: #200412; /* Color = Font Color */
font-weight:500;
}
.btn-primary:hover {
background-color: #EA71A9; !important
}
.desktop-store-name {
text-align:center;
}
.desktop-store-name img {
height: 80px;
}
</style>
If you wish to change the colors, just swap the Hex Codes / RGB for the colors that you prefer.
You can add meta tags in the header or any other valid HTML HEAD attributes as well, once complete, click save and your changes will be live on your Shopify Payment page.
Was this article helpful?
That’s Great!
Thank you for your feedback
Sorry! We couldn't be helpful
Thank you for your feedback
Feedback sent
We appreciate your effort and will try to fix the article
